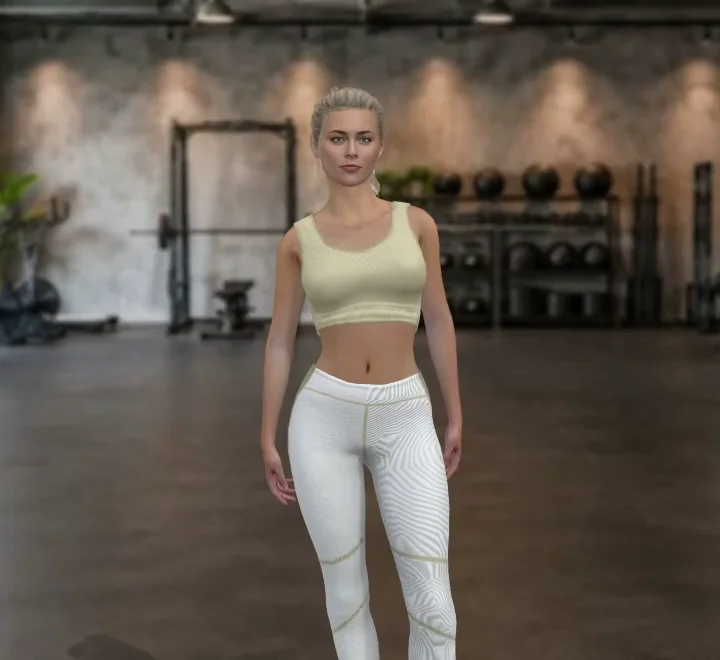
Set up your space.
Choose a clear, solid wall and a floor where your feet will not slip. Do not use a movable door or glass. Franky demonstrates the movement without a visible wall; your hands should stay in contact with a real wall.
Step-by-step technique
- Face the wall and place your palms around chest height, a little wider than your shoulders.
- Set your feet in a position that lets you lean forward without slipping or arching your lower back.
- Bend your elbows gradually as your chest moves toward the wall. Keep your head in line with your body.
- Press through your palms to return. Keep breathing and pause to reset if your position changes.
Try a few comfortable repetitions before adding this exercise to a circuit. Notice the foot position that lets you move steadily, and start there next time. Keep some rest between attempts rather than practising until your position collapses.
Common mistakes to watch for
- Reaching toward the wall with your chin instead of moving your body together.
- Letting your hips drop or your lower back arch as you lean.
- Standing so far away that your feet slide or you cannot press away smoothly.
Make it easier.
Stand closer to the wall and use a smaller range of movement.
You can pause, shorten an interval, or leave this movement out of a routine. Use a version you can control rather than trying to match an animation’s speed.
How can I make wall push-ups easier?
Move your feet closer to the wall and reduce how far you bend your elbows. Keep your palms secure and choose a range that feels comfortable. Adjust one thing at a time so you can tell whether it helps.
When should I move to floor push-ups?
There is no fixed timetable. First make the wall variation consistent across sessions. A suitable stable incline may be an intermediate option. If a new version makes your position fall apart or causes pain, return to an easier setup and seek advice if needed.